Inventory (manufacturer)
After completing the facility profile and inviting users to the Facility Manager role, you can begin building your list of waste categories and start using the inventory system.
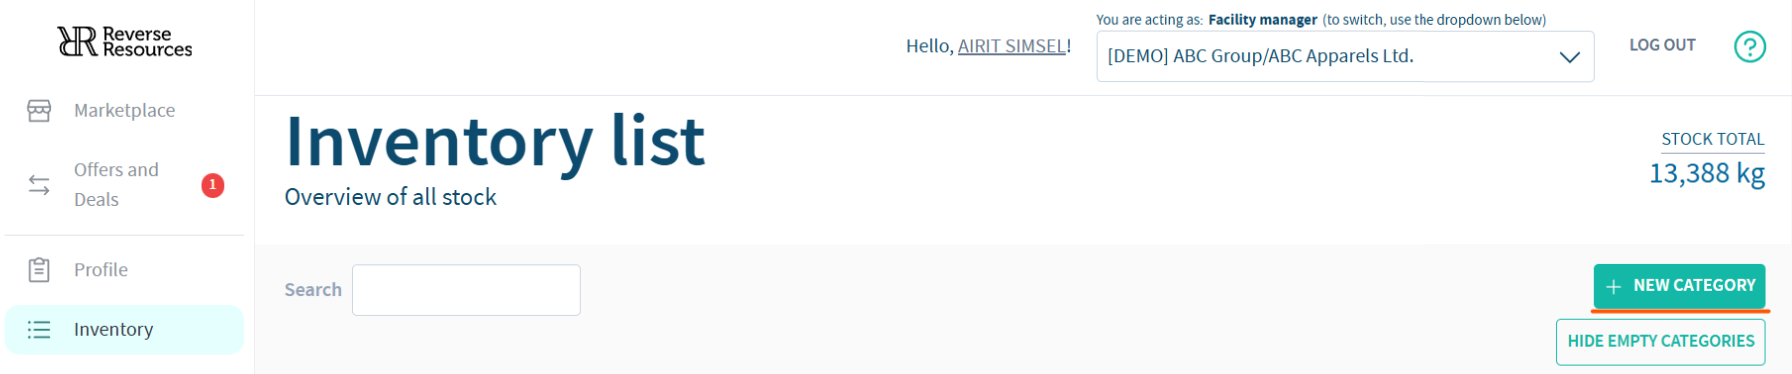
To get started, click the INVENTORY tab in the left-hand menu.
Each facility can decide how often to update the inventory—whether daily, weekly, or monthly. However, more frequent updates will enhance the platform’s performance, benefiting both the facility and the wider RR network.
- Start by clicking + NEW CATEGORY on the top right.
- A modal will open where you can enter the details. Dropdown options are based on the information in your profile.

-
If a category has been created, it becomes visible in the inventory.
You can continue adding categories until you’ve built a comprehensive list of the most common waste types generated by your facility that you want to track on the RR platform.
Categories can be created for both textile and non-textile waste. The waste list follows the same breakdown as the HIGG Index while offering an expanded range of options.
If there is something not available in the dropdowns, please notify us at support@reverseresources.net or via the chatbot in the system so that we can modify the list of options according to your needs.
- Once you have built your list of categories, you can start adding volumes of waste into your inventory regularly from the production floor or waste warehouse. Add or remove waste in inventory by clicking the +/- button in the ADD / REMOVE STOCK column.
- Clicking the + sign opens up a new modal where you can type in the waste amount in kilograms.
- Please specify a brand name with each adjustment. If the brand is unknown, simply leave the dropdown as it is; this will automatically label it as 'Multiple brands.'

-
Clicking on a category will display its history of adjustments, reserved volumes, and draft volumes. Once you begin using the SHIPMENT menu to register outgoing shipments, these will also appear here.

-
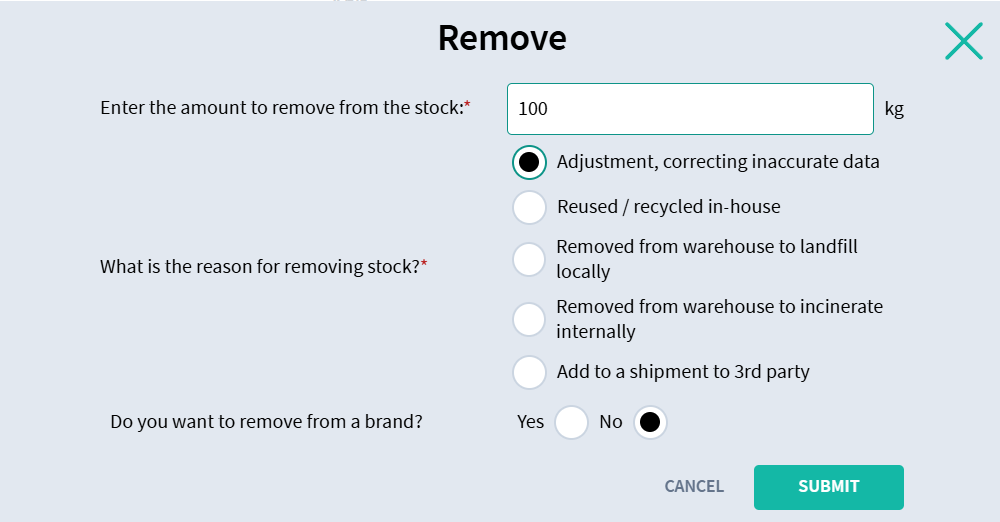
When removing volumes from a category, click the - sign. Enter the amount necessary and select the reason for removing stock. This is queried for improving the tracing of the waste and data quality.
- Once you have created at least one category in the Inventory and added the initial volume to it, the SHIPMENTS tab functionality will become available.

